01 Jun 2024
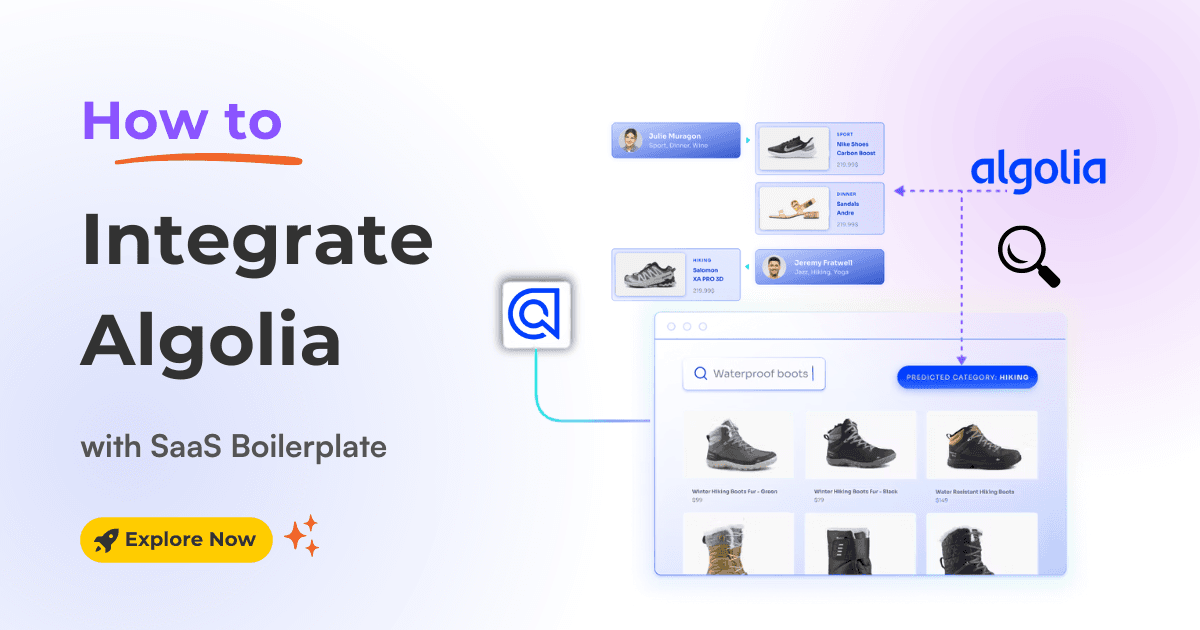
Learn how to seamlessly integrate Algolia search into your SaaS boilerplate for improved search relevancy and performance.

Want to elevate the user search experience in your SaaS app with lightning-fast, highly relevant search results? Then, Algolia is the answer.
This powerful search-as-a-service platform can transform how your users discover content, increasing engagement and satisfaction.
In this step-by-step guide, we'll show you how to integrate Algolia seamlessly into your Next.js SaaS boilerplate and templates. Specifically, we will use the Next.js SaaSBold boilerplate for smooth and efficient integration.
It is well-known for its speed, accuracy, scalability, seamless integration, and customization options. Here’s why it’s the perfect choice for our SaaS app:
Whether you're building an e-commerce platform or any other SaaS app, it empowers the users to find what they need quickly and efficiently.
Let's get started!
Integrating Algolia into the Next.js SaaS boilerplate and template is a straightforward process. Follow these steps to integrate seamlessly:
1. Create an Algolia Account: If you don't have an Algolia account, visit their website and create one for free.
2. Create an Algolia Application: Log in to your Algolia dashboard. Click on "Applications," then click the "Create Application" button.
Follow the instructions to create a new application.

3. Choose a region for your new application and click on "Create Application".

4. Create a Search Index: On your new application's dashboard, click the "Get Started!" button.
5. Index Name: Enter a name for your index (e.g., "products," "articles," etc.) and click "Create Index". This creates a dedicated index to store your searchable data.

6. Rename Application: Algolia creates an unnamed application initially. Go to "Settings" -> "Applications" to give it a meaningful name.

7. Generate API Keys: In the sidebar, navigate to "Settings", then to "API Keys," and then to the "All API Keys" tab.

8. New API Key: Go to "All API Keys" and click the "New API Key" button. Choose the index you just created.
9. Setup API Key: Select the permissions for the key as shown here
Important: Select the following permissions for your API key: search | browse | addObject | lisitindexes

Update Your Environment Variables: Find your Algolia Project ID (located under the "Applications" button) and the Index Name you created.
Add these lines, replacing the placeholders with your actual values:
NEXT_PUBLIC_ALGOLIA_PROJECT_ID=YOUR_PROJECT_ID
NEXT_PUBLIC_ALGOLIA_API_KEY=THE_APIKEY_WE_CREATED
NEXT_PUBLIC_ALGOLIA_INDEX=YOUR_INDEX_NAMECongratulations! You've successfully integrated Algolia into your Next.js SaaS boilerplate. Now, you can start indexing your data and building a fantastic user search experience. This powerful search functionality will enhance user engagement and satisfaction by providing fast and relevant search results.
Latest Posts from SaaSBold Blog

12 Jun 2024
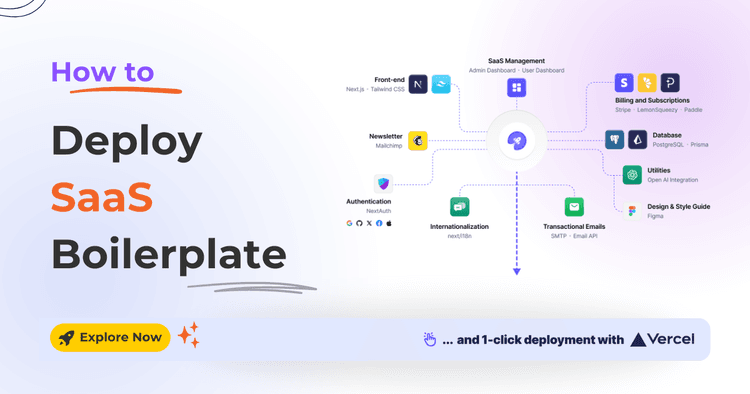
How to Quickly Deploy SaaS Boilerplate and Template on Vercel
Speed up your SaaS launch! Learn how to deploy your SaaS Boilerplate on Vercel quickly and effortlessly with this step-by-step guide.

17 May 2024
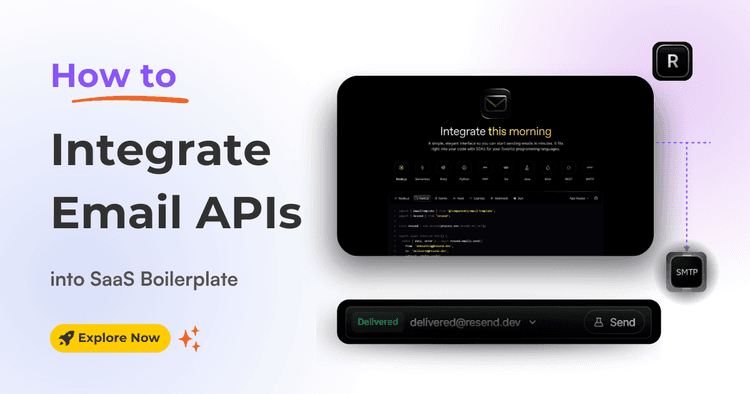
How to Integrate Email API into Next.js Boilerplate or Template
Learn how to seamlessly integrate email functionality into your SaaS boilerplate/template using Resend SMTP's powerful API. Effortlessly send transactional Emails.

15 May 2024
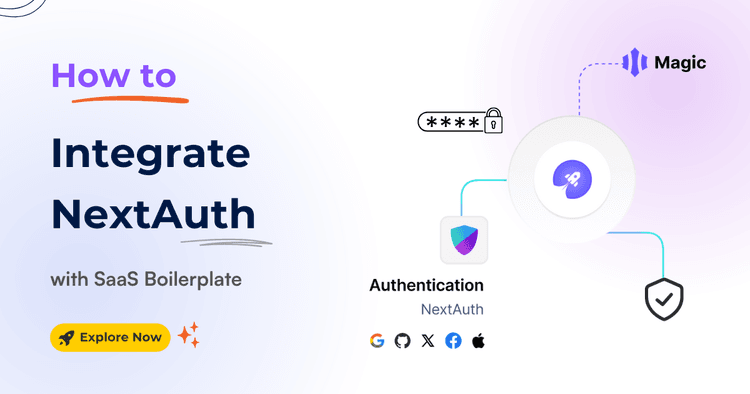
How to Integrate NextAuth.js with Next.js Boilerplate and Template
Simplify authentication in your templates and SaaS Boilerplate! Learn how to effortlessly integrate NextAuth with Google and GitHub login, including passwordless magic links.