17 May 2024
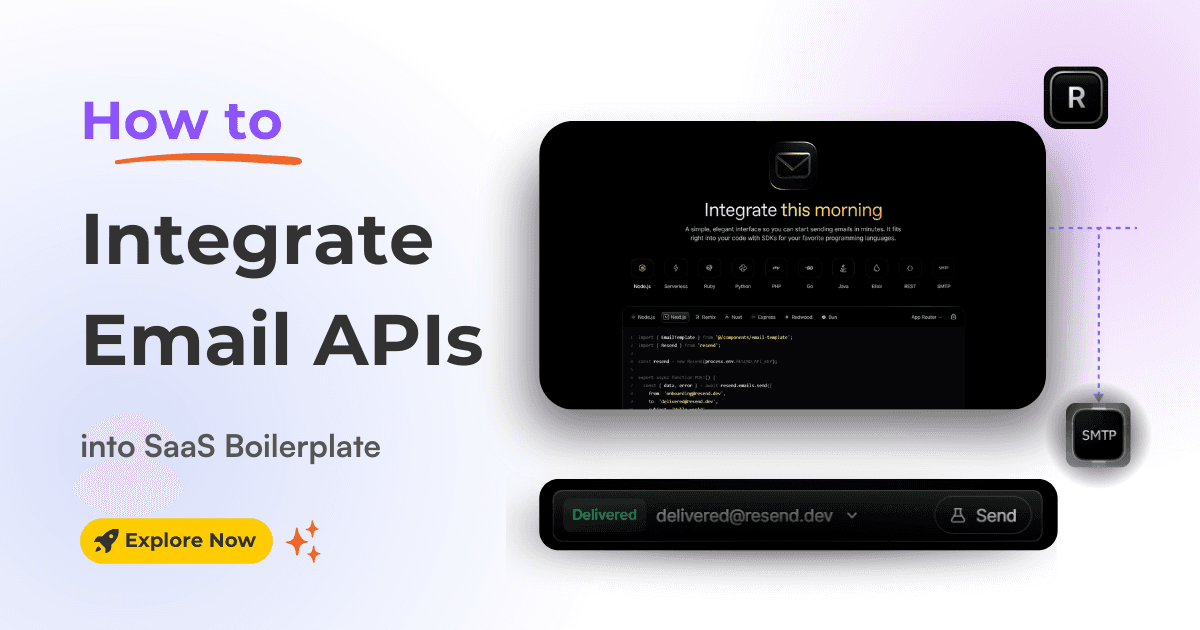
Learn how to seamlessly integrate email functionality into your SaaS boilerplate/template using Resend SMTP's powerful API. Effortlessly send transactional Emails.

Effective communication is essential for the success of your SaaS product. Whether it's welcoming new users, resetting passwords, transactional emails or keeping customers in the loop with important updates, email is the bond that holds user communication together.
However, finding and setting up reliable email SMTP can be a real pain, especially if you're a beginner.
That's where Resend SMTP comes in handy. It's a powerful, easy-to-use email API that seamlessly integrates with boilerplate and template.
In this guide, we'll explore how to integrate Resend SMTP, a powerful and developer-friendly email service.
Note: We will use SaaSBold with a Resend SMTP provider, but you can use any Boilerplate or template you want.
Before diving into the integration process, let's explore why Resend is a great choice for the email needs:
Integrating an email API into a boilerplate or template is crucial for email communications and enhancing user engagement.
Here's a step-by-step guide to seamlessly integrating Resend into the boilerplate or template for efficient email delivery.
1. Create a Resend Account: Log into the account or, if you don't have a Resend account, go to Resend.com and click the "Get Started" button to create one.
2. Create API Key: Navigate to Settings > API Keys. Click Create API Key to create.

3. Generate API Key: Provide a name for your API key and click the "Add" button to generate it.

4. View API Key: Once you click "Add", a popup with the API key will appear. You can only see this key once. Copy it and Store it safely.

In your Resend account, go to Settings > SMTP. Copy the SMTP host and port values to update in the .env file.

Here are the Steps to update the .env file with Resend variables.
1. Open the .env file in your SaaS boilerplate project.
2. Add the following lines, replacing the placeholders with actual Resend credentials:
EMAIL_SERVER_HOST=smtp.resend.com
EMAIL_SERVER_PORT=587
EMAIL_SERVER_USER=resend
EMAIL_SERVER_PASSWORD=your_resend_api_key
EMAIL_FROM=your_email_address@yourdomain.comIt is important to add the domain to send transactional emails like welcome messages, password resets, etc. Here
1. Add Domain: Go to Settings > Domains in Resend and click "Add Domain".

2. Add DNS record: Follow the instructions to verify your domain by adding DNS records.
This step is essential for successful email delivery and preventing emails from being marked as spam.
3. Verify DNS Record: Once you have added DNS records, Click "Verify DNS Records."

If you are stuck, follow this official documentation by Resend on setting up the domain.
Congratulations, You've successfully set up the email API for your boilerplate or templates.
With Resend SMTP, you have a powerful, easy-to-use email API that integrates seamlessly. We've covered the steps to get you up and running, from creating a Resend account to verifying your domain.
Enjoy the benefits of reliable email delivery and robust analytics with Resend SMTP!
Latest Posts from SaaSBold Blog

12 Jun 2024
How to Quickly Deploy SaaS Boilerplate and Template on Vercel
Speed up your SaaS launch! Learn how to deploy your SaaS Boilerplate on Vercel quickly and effortlessly with this step-by-step guide.

01 Jun 2024
How to integrate Algolia with SaaS Boilerplate and Template
Learn how to seamlessly integrate Algolia search into your SaaS boilerplate for improved search relevancy and performance.

15 May 2024
How to Integrate NextAuth.js with Next.js Boilerplate and Template
Simplify authentication in your templates and SaaS Boilerplate! Learn how to effortlessly integrate NextAuth with Google and GitHub login, including passwordless magic links.