15 May 2024
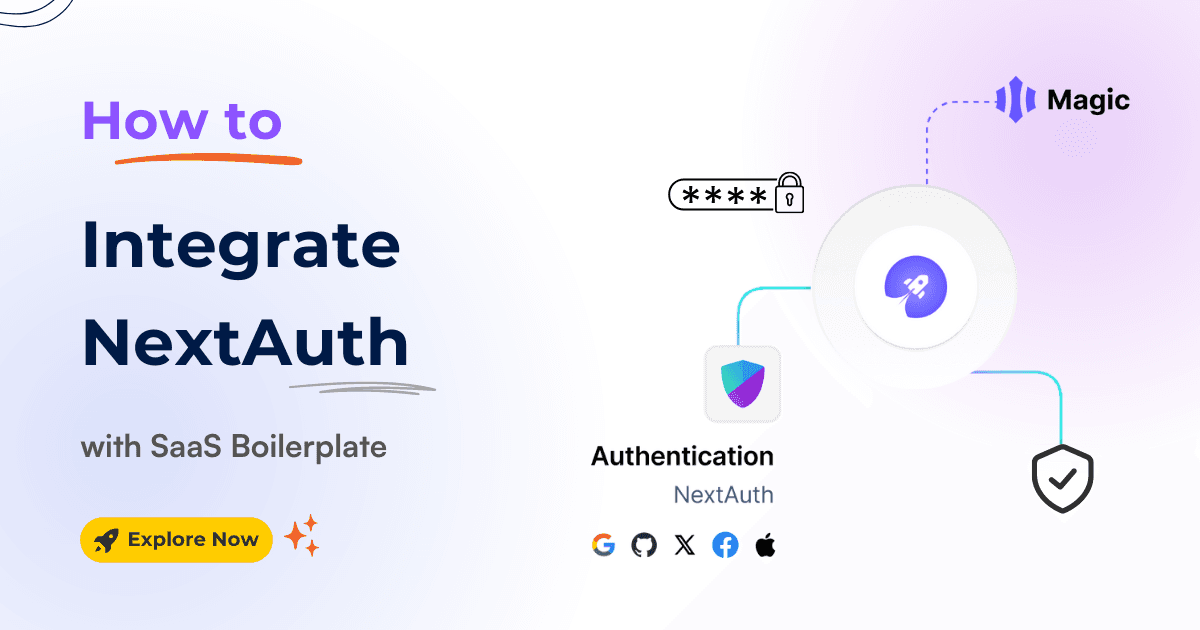
Simplify authentication in your templates and SaaS Boilerplate! Learn how to effortlessly integrate NextAuth with Google and GitHub login, including passwordless magic links.

User authentication is crucial to any SaaS (Software as a Service) application. It ensures that only authorized users can access the app's features and data, providing the foundation for security and a seamless user experience.
To achieve this, we'll show you how to add a secure login method to the Next.js SaaS Boilerplate and templates using the NextAuth.js and the SaaSBold boilerplate.
Specifically, we will focus on setting up Google and GitHub authentication in detail.
NextAuth.js ( becoming Auth.js! ) is a powerful and flexible authentication library designed for Next.js applications. Its strength lies in supporting various authentication providers, making it an ideal choice for a SaaS boilerplate and templates that may need to support multiple login methods.
NextAuth.js is an excellent tool because it:
Therefore, it's no surprise that our SaaS Boilerplate, SaaSBold, leverages NextAuth.js to handle authentication seamlessly.
Now, let's dive into the integration process!
First, let's set up NextAuth.js. It's a great tool for handling authentication because it supports multiple providers, making it ideal for your SaaS application.
To start, we need to configure two essential environment variables in the .env file:
NEXTAUTH_URL="YOUR_SITE_URL"
SECRET="A Random String"( Replace the placeholders with your actual values )
To create a random string, you can use this command in your terminal ( make sure OpenSSL is installed):
openssl rand -base64 32Remember!
For local development, set NEXTAUTH_URL to http://localhost:3000, and for production, use your live site URL. Setting these variables correctly ensures the authentication process works properly and allows access to protected routes.
Now that NextAuth.js is configured let your users log in with their Google accounts. This is a convenient option for many users and simplifies the sign-up process.
Let's integrate Google authentication. Follow these steps:
1. Create a Google Project: Go to the Google Console and create a new project if you don’t already have one.
To get started, please click the New Project button below. Follow the on-screen instructions to create your new project.

2. Generate Credentials: Click on the CREATE CREDENTIALS button and choose OAuth client ID. If prompted, configure the consent screen.

3. Configure OAuth ID: You may see a similar screen after clicking the OAuth client ID. In that case, proceed to configure the consent screen.

4. OAuth Consent Screen: Proceed through the steps, and when choosing the user type, select "External." This indicates that your app will be used by users outside of your organization.

5. Set Up OAuth Client: After completing the OAuth consent screen, click on the OAuth client ID again and follow the instructions to set it up.
6. Authorized JavaScript Origin: Click on the ADD URI button to add it. Since we are setting up a local environment, Add the localhost URL (http://localhost:3000) as the Authorized origin.

7. Authorized redirects URI: Then, set up the Authorized redirect URI with the callback path included:
For production: https://YOUR_DOMAIN/api/auth/callback/google
For development: http://localhost:3000/api/auth/callback/google

8. After completing the setup, click the "Create" button. You'll be redirected to a page displaying your Client ID and Client Secret if everything is configured correctly.
Go ahead and copy-paste them to the .env file

Store Your Credentials:
1. Open your project's .env file.
2. Add these lines, replacing the placeholders with your actual Client ID and Client Secret:
GOOGLE_CLIENT_ID="Your Google Client ID"
GOOGLE_CLIENT_SECRET="Your Google Client Secret"
If you accidentally close the tab, you can find your credentials again in the "Credentials" section of your Google project by clicking on the download icons

NextAuth.js also makes it easy for your users to log in with their GitHub accounts.
Now, let's set up GitHub authentication. Here’s how:
1. Go to your GitHub account's Developer Settings.

2. Click "OAuth Apps" -> "Register a new application".

3. Fill in the details, including your website's URL and callback URI.
Remember to update the Authorization Callback URL for your production environment. Just replace the http://localhost:3000 part of the URL with the website's URL.
4. Click on "Register application" to register the OAuth app.

5. Generate Client Secret: Click on "Generate a new client secret" to get the secret.

6. Update .env File: Copy the Client ID and Client Secret, then update your .env file:

Add these to the .env file:
GITHUB_CLIENT_ID="Your GitHub Client ID"
GITHUB_CLIENT_SECRET="Your GitHub Client Secret"You're Done!
Congratulations! By following these steps, you've successfully integrated NextAuth.js into your Next.js SaaS boilerplate. Now, your users can log in using their Google or GitHub accounts.
Key Points:
Now, you're on your way to building a robust and user-friendly SaaS platform!
Latest Posts from SaaSBold Blog

12 Jun 2024
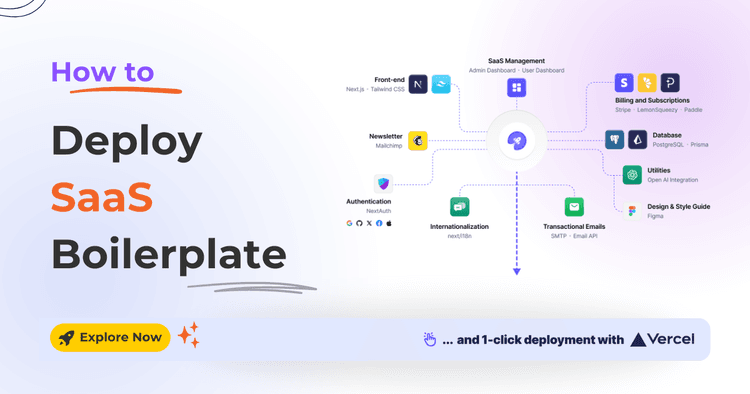
How to Quickly Deploy SaaS Boilerplate and Template on Vercel
Speed up your SaaS launch! Learn how to deploy your SaaS Boilerplate on Vercel quickly and effortlessly with this step-by-step guide.

01 Jun 2024
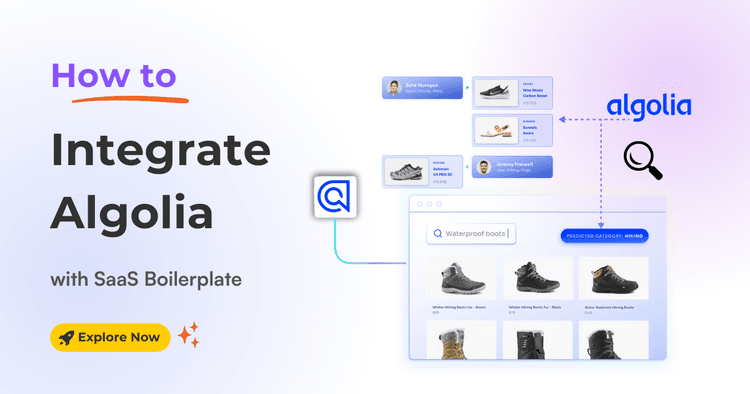
How to integrate Algolia with SaaS Boilerplate and Template
Learn how to seamlessly integrate Algolia search into your SaaS boilerplate for improved search relevancy and performance.

17 May 2024
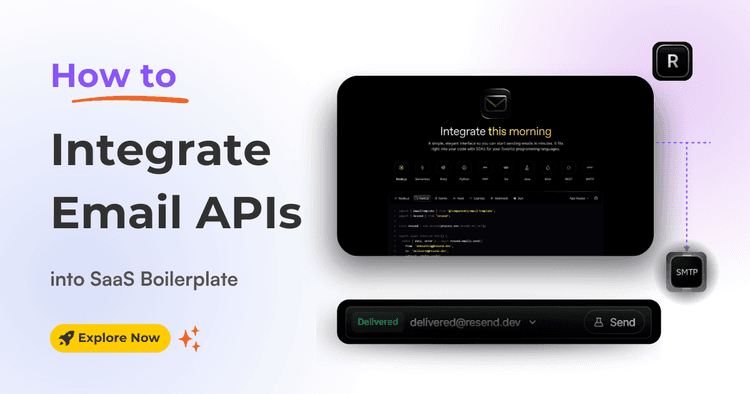
How to Integrate Email API into Next.js Boilerplate or Template
Learn how to seamlessly integrate email functionality into your SaaS boilerplate/template using Resend SMTP's powerful API. Effortlessly send transactional Emails.