12 Jun 2024
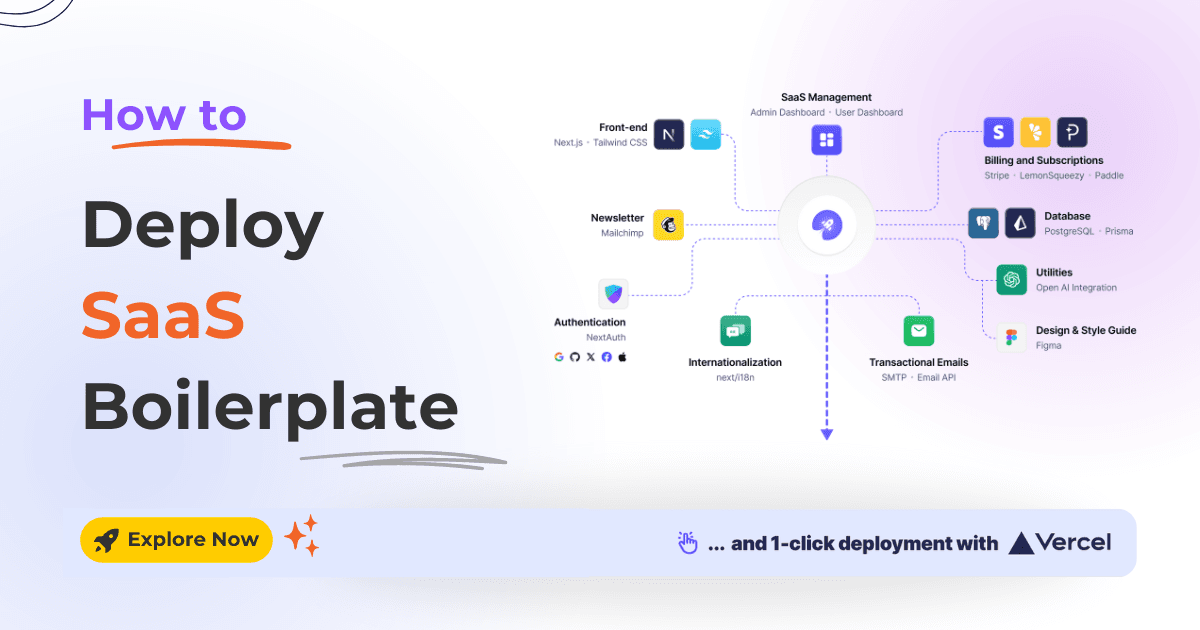
Speed up your SaaS launch! Learn how to deploy your SaaS Boilerplate on Vercel quickly and effortlessly with this step-by-step guide.

Deploying Next.js SaaS boilerplate or template can often feel overwhelming, but it doesn't have to be. Vercel makes the process quick and easy, giving you more time to build a great product.
With Vercel, you get seamless integration with GitHub, automatic builds, and effortless scaling, all designed to simplify deployment.
In this guide, we'll show you how to deploy your boilerplate and template on Vercel quickly. Follow these steps to get your application live quickly and engage with your users immediately.
Let's dive in!

Deploying the SaaS boilerplate and template on Vercel is quick and easy. Follow this step-by-step guide to ensure a smooth deployment process.
Before deploying, make sure your project is ready:
1. Install Dependencies: Ensure all your dependencies are installed by running:
npm install2. Build the Project: Verify that your project builds correctly locally by running.
npm run build3. Set Up Environment Variables: Ensure your .env file is properly configured with all necessary environment variables.
If you don't have a Vercel account yet, create one:
1. Sign Up for Vercel: Go to Vercel and create an account.
2. Connect to GitHub: Link your Vercel account to your GitHub account to allow easy deployments.
1. Import Your Project: After logging in to Vercel, click on the "New Project" button.

2. Select Repository: Select the GitHub repository containing your SaaS boilerplate, and click on the "Import" button.

3. Project Name: Provide the "Project Name" for your project. Although Vercel will automatically detect your project settings, you can review and adjust them.
4. Build Command: Provide the build command. Additionally, verify that the build and output settings are correct (the default settings for a Next.js project usually work fine).

Since we use Prisma ORM on SaaSBold, edit the build command like this while deploying to Vercel.
prisma generate && npm run build5. Set Environment Variables: Click on "Environment Variables" and add all the variables from the local .env file.
Pro Tip: To save time, you can efficiently paste all the variables at once.

6. Deploy the Project: Click on the "Deploy" button. Vercel will start the deployment process.

Wait for the deployment to complete. Once done, you will receive a live URL for your application.
7. Set Up Custom Domain (Optional): If you have a custom domain, you can configure it in the Vercel dashboard under the "Domains" section.

Use Vercel's built-in monitoring tools to keep track of the application's performance and optimize as needed.
That's it. You've successfully deployed your SaaS boilerplate or template on Vercel. This quick and efficient deployment process allows you to focus on building and improving your application while Vercel handles the hosting and scaling.
Enjoy your live application and continue to leverage Vercel's powerful features for continuous deployment and performance monitoring.
Latest Posts from SaaSBold Blog

01 Jun 2024
How to integrate Algolia with SaaS Boilerplate and Template
Learn how to seamlessly integrate Algolia search into your SaaS boilerplate for improved search relevancy and performance.

17 May 2024
How to Integrate Email API into Next.js Boilerplate or Template
Learn how to seamlessly integrate email functionality into your SaaS boilerplate/template using Resend SMTP's powerful API. Effortlessly send transactional Emails.

15 May 2024
How to Integrate NextAuth.js with Next.js Boilerplate and Template
Simplify authentication in your templates and SaaS Boilerplate! Learn how to effortlessly integrate NextAuth with Google and GitHub login, including passwordless magic links.