13 May 2024
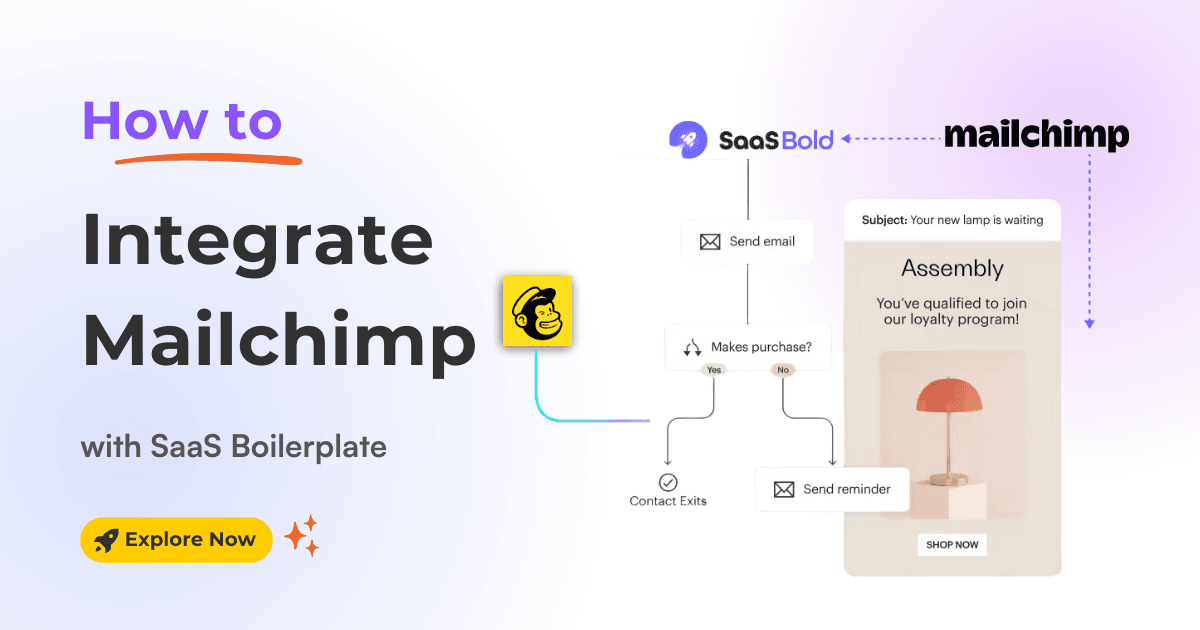
Learn how to seamlessly integrate Mailchimp into Next.js Boilerplate/Template, enabling you to create, send, and track effective email marketing campaigns.

Mailchimp is a powerful email marketing tool that helps you connect with your customers, drive engagement, and grow the business. Specifically, It can add subscribers, manage email lists, and craft compelling email campaigns.
Furthermore, integrating Mailchimp with a boilerplate/template can supercharge marketing efforts by automating email campaigns, organizing subscribers, and tracking engagement. This opens up a world of possibilities for your business growth.
In this article, we will show you how to integrate MailChimp into the SaaS Boilerplate / Template.
Note: For smooth integration, we will consider SaaSBold—Next.js SaaS Boilerplate.
Before diving into the integration process, let's explore why Mailchimp is an excellent choice for email marketing.
Here's a step-by-step guide to help you integrate Mailchimp with Boilerplate/ Template:
1. Create a Mailchimp Account: If you don't have a Mailchimp account, go to Mailchimp.com and click the "Sign Up Free" button to create a free account.
Please Fill out your personal and business information. Verify your email address by clicking the link sent to your inbox.
2. Create a Mailchimp Audience: Navigate to Audience Dashboard > Manage Audience > Settings.

3. Audience ID: Scroll to the bottom of the page to find the Audience ID.

Here are the Steps to get the Mailchimp API Key:
1. Navigate to API Keys: Go to your Mailchimp account settings. Under "Extras," find "Your API keys."
2. Create an API Key: Click "Create A Key" if you don’t have one.

3. Generate API key: Provide the name for the new API key and click the "Generate Key" button to generate it.

4. Copy API Key: Copy the generated API key as needed for the integration.

Look at the URL while logged into Mailchimp. It should look like https://usXX.admin.mailchimp.com/. The part before .admin.mailchimp.com (e.g., usXX) is your server prefix.
Here are the Steps to update the.env file with variables.
1. Open the .env file in your boilerplate/template project.
2. Update the following lines, replacing placeholders with your actual credentials ( We have copied above) :
MAILCHIMP_API_KEY=your_mailchimp_api_key
MAILCHIMP_AUDIENCE_ID=your_audience_id
MAILCHIMP_API_SERVER=your_server_prefixFor Example:
MAILCHIMP_API_KEY=a1b2c3d4e5f6g7h8i9j0
MAILCHIMP_AUDIENCE_ID=1234567890
MAILCHIMP_API_SERVER=us21That's it! You've successfully integrated Mailchimp with your Boilerplate or templates.
Unlock the full potential by enabling automated email campaigns, organized subscriber management, and engagement tracking.
Remember, your email list is a goldmine, so treat it right, keep it clean, and watch your business grow.
Happy emailing!
Latest Posts from SaaSBold Blog

12 Jun 2024
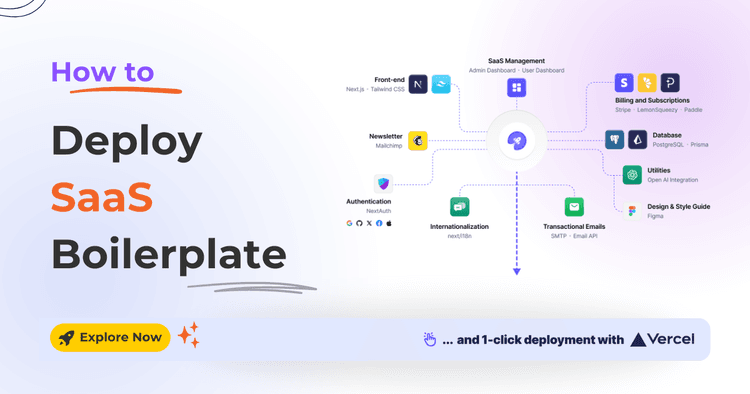
How to Quickly Deploy SaaS Boilerplate and Template on Vercel
Speed up your SaaS launch! Learn how to deploy your SaaS Boilerplate on Vercel quickly and effortlessly with this step-by-step guide.

01 Jun 2024
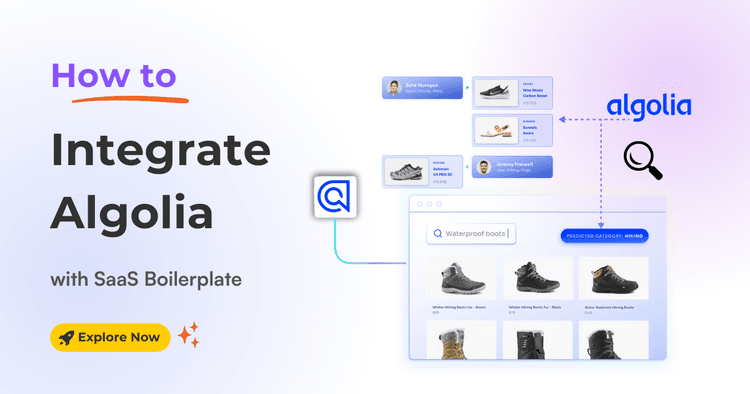
How to integrate Algolia with SaaS Boilerplate and Template
Learn how to seamlessly integrate Algolia search into your SaaS boilerplate for improved search relevancy and performance.

17 May 2024
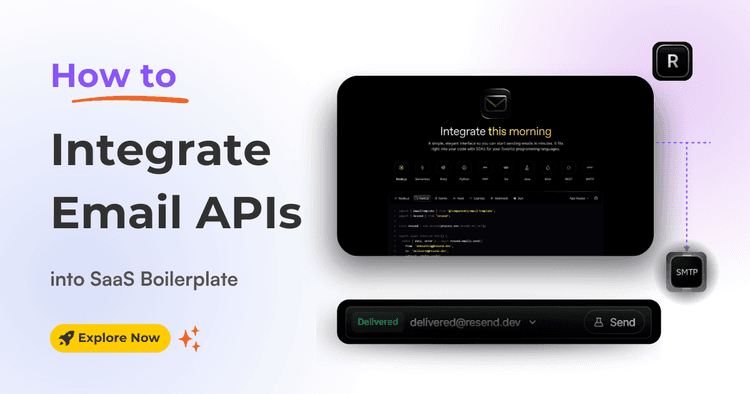
How to Integrate Email API into Next.js Boilerplate or Template
Learn how to seamlessly integrate email functionality into your SaaS boilerplate/template using Resend SMTP's powerful API. Effortlessly send transactional Emails.