12 May 2024
Learn how to seamlessly integrate Sanity CMS with your Next.js SaaS Boilerplate. Create a streamlined content workflow.

Welcome! In this tutorial, we'll guide you on integrating Sanity (a powerful and flexible headless CMS) with your SaaS Boilerplate or Template.
Additionally, we will demonstrate a step-by-step guide for setting up Sanity, Creating content, and even setting up webhooks for real-time content updates.
It allows us to manage the content (e.g., blog posts, product descriptions, etc.) seamlessly, while the SaaS Boilerplate provides a solid foundation for building our SaaS product. For this demonstration, we will use the SaaSBold, a full-stack Next.js SaaS boilerplate.
By the end of this guide, you'll have a basic understanding of how to fetch and display content from Sanity within your SaaS application, even if you're new to these tools.
PS: This tutorial is a part of a our comprehensive guide on "How to Install, Integrate and Deploy SaaS Boilerplate.
Let's get started!
To seamlessly integrate Sanity with the SaaS Boilerplate application, you'll need a few essential information:
In this section, we'll guide you through obtaining these values. Once you have them, you can fully integrate Sanity with your SaaS Boilerplate application and start creating and managing your blog content effortlessly!
Let's start by creating and integrating the Sanity project with the SAAS boilerplate.
Follow these steps to integrate Sanity:
1. Create a Sanity Account: Open your web browser and visit the Sanity website. Create a free account (or log in if you already have one).
2. Initialize a Sanity Project: Open your terminal and run the following command:
npm -y create sanity@latestChoose a name for your project (e.g., "My SaaS Blog") and click "Create."
This command will create a new Sanity project on the Sanity dashboard and guide you through some initial setup steps. Just follow the prompts on the terminal.
Note: You don't need the local project folder created by this command. It's just for project creation on the Sanity dashboard. You can delete the project folder after the project shows up on sanity.io/manage
3. Get the Project Name and ID: Log in to sanity.io/manage and navigate to the project you just created. You'll see your Project Name and Project ID displayed. Copy these values.

4. Set Environment Variables: Open the .env file in your SaaS boilerplate project and update the variables' value. ( For SaaSBold, it's as below )
NEXT_PUBLIC_SANITY_PROJECT_ID=YOUR_PROJECT_ID
NEXT_PUBLIC_SANITY_PROJECT_TITLE=YOUR_PROJECT_NAME5. Enable CORS Origin: Visit http://localhost:3000/studio in your browser. You'll be prompted to add the URL as a CORS. Click "Continue"
This allows our SaaS app to access content from Sanity securely.

6. Log In to Sanity Studio: Go to http://localhost:3000/studio and log in using the preferred method (e.g., Google, GitHub).
You'll be redirected to the Sanity studio dashboard, where we can add authors, categories and tags and create and manage the blog content.

Now, let's explore how to create and publish your article using Sanity's dashboard.
1. Create a New Post: Click the "Post" button, then the "Create post" icon.

2. Write Your Article: Fill in the required fields, such as Title, Metadata (like SEO description), Featured images, Author, and Tags. Use the rich text editor to craft your blog post's content.

3. Add Image: To add an image to the blog post article, click the "Image" button in the editor and choose "Image." Upload an image from your computer or select from Sanity's built-in image library.
4. Publish: Once your article is ready, click the "Publish" button. Your blog post will now be live on your SaaS website's blog (/blog ) section.
Write your content, add images or other media, and hit publish to share your work.
To seamlessly fetch and display the blog posts on our website, we'll need to give our app a way to communicate with the Sanity project.
So, Let's explore how to integrate Sanity's API to manage your content with any application.
1. Visit sanity.io/manage, go to the "API" tab, then the "Tokens" section.
2. Click "Add API token" and fill out the form:

3. Click "Save" to generate the token.

4. Store the API Key: The API key will be generated once you click the "Save" button. Copy the generated API key and add it to your .env file:

SANITY_API_KEY=YOUR_API_KEYSanity's webhook acts as a bridge between your content and external services. Let's explore how to integrate the Sanity webhook to see changes in content in real-time.
1. Create a Webhook: Visit sanity.io/manage, go to "API" -> "Webhooks" and click "Create Webhook.

2. Fill out the required field with information about the hook.
Click on the "save" button once completed to create your webhook.
3. Store the Webhook Secret: Add the secret to your .env file:
SANITY_HOOK_SECRET=YOUR_SECRET4. Test the Webhook (on Live Site Only): You can't test webhooks locally. Deploy your site, then edit and publish an article in Sanity Studio.
Do a hard refresh of your website. You will be able to see the content updates in real-time!
Congratulations! You've successfully integrated Sanity into your SaaS website. By following this guide, you've unlocked the power to manage your content effortlessly, create engaging blog posts, and keep your website up-to-date with real-time content updates.
Latest Posts from SaaSBold Blog
12 Jun 2024
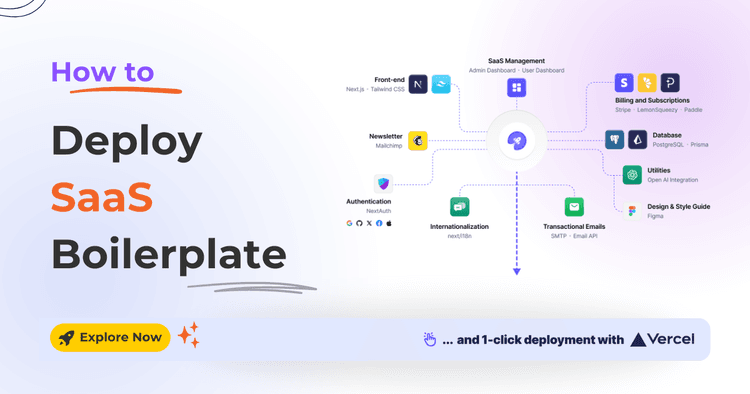
How to Quickly Deploy SaaS Boilerplate and Template on Vercel
Speed up your SaaS launch! Learn how to deploy your SaaS Boilerplate on Vercel quickly and effortlessly with this step-by-step guide.
01 Jun 2024
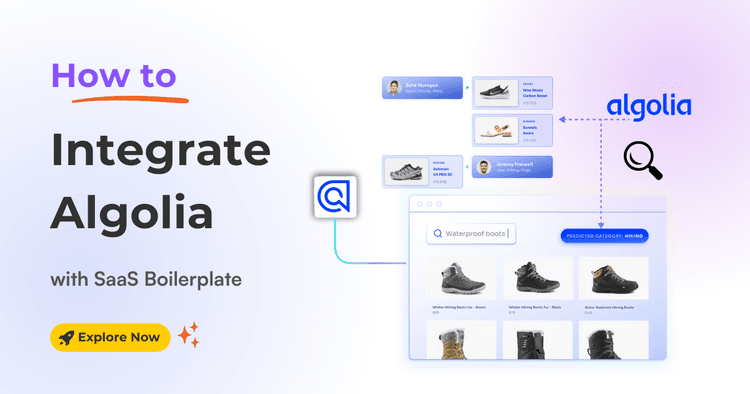
How to integrate Algolia with SaaS Boilerplate and Template
Learn how to seamlessly integrate Algolia search into your SaaS boilerplate for improved search relevancy and performance.
17 May 2024
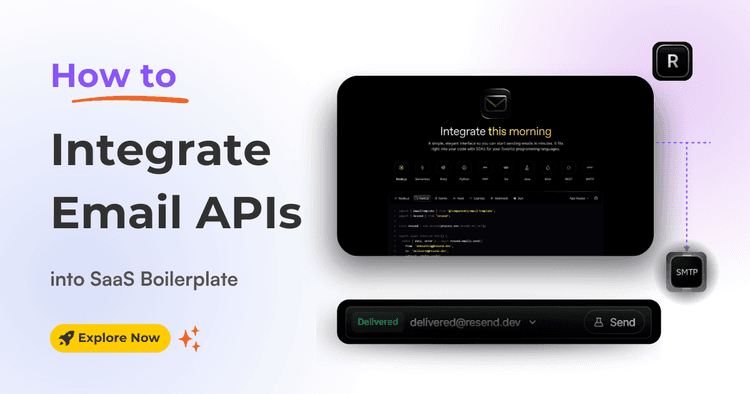
How to Integrate Email API into Next.js Boilerplate or Template
Learn how to seamlessly integrate email functionality into your SaaS boilerplate/template using Resend SMTP's powerful API. Effortlessly send transactional Emails.
